The Outside Layer

November 20, 2012

People wear different clothing depending on where they are and what they are doing.  What you see on them, whether it be a banker in New York or mountain climber on Everest or a surfer in Hawaii, reflects both the function they’re engaged in as well as their personal taste.  The mountain climber will likely wear several different layers such as the base layer to wick moisture away from their body, some middle insulting layers to keep warm and some outer layer that serves as wind and moisture barrier to stay dry.  All of them expressed in whatever color, style, and material to be fashionable.  You can think of the house in the same way where different layers serve different purpose and the styling and color reflects the owners’ taste.

In this post we’ll cover the exterior look of Midori Haus.  We’ll continue the story from the exterior mineral wool insulation.  You may recall from the insulation post of this blog that 3.25 inches of rigid mineral wool insulation (Roxul Toprock DD) was nailed on to the outer surface of OSB sheathing.  Over that Tyvek Home Wrap was applied.  This is the layer that protects the home from wind and rain that could penetrate the exterior siding. 

Tyvek Home Wrap over mineral wool insulation

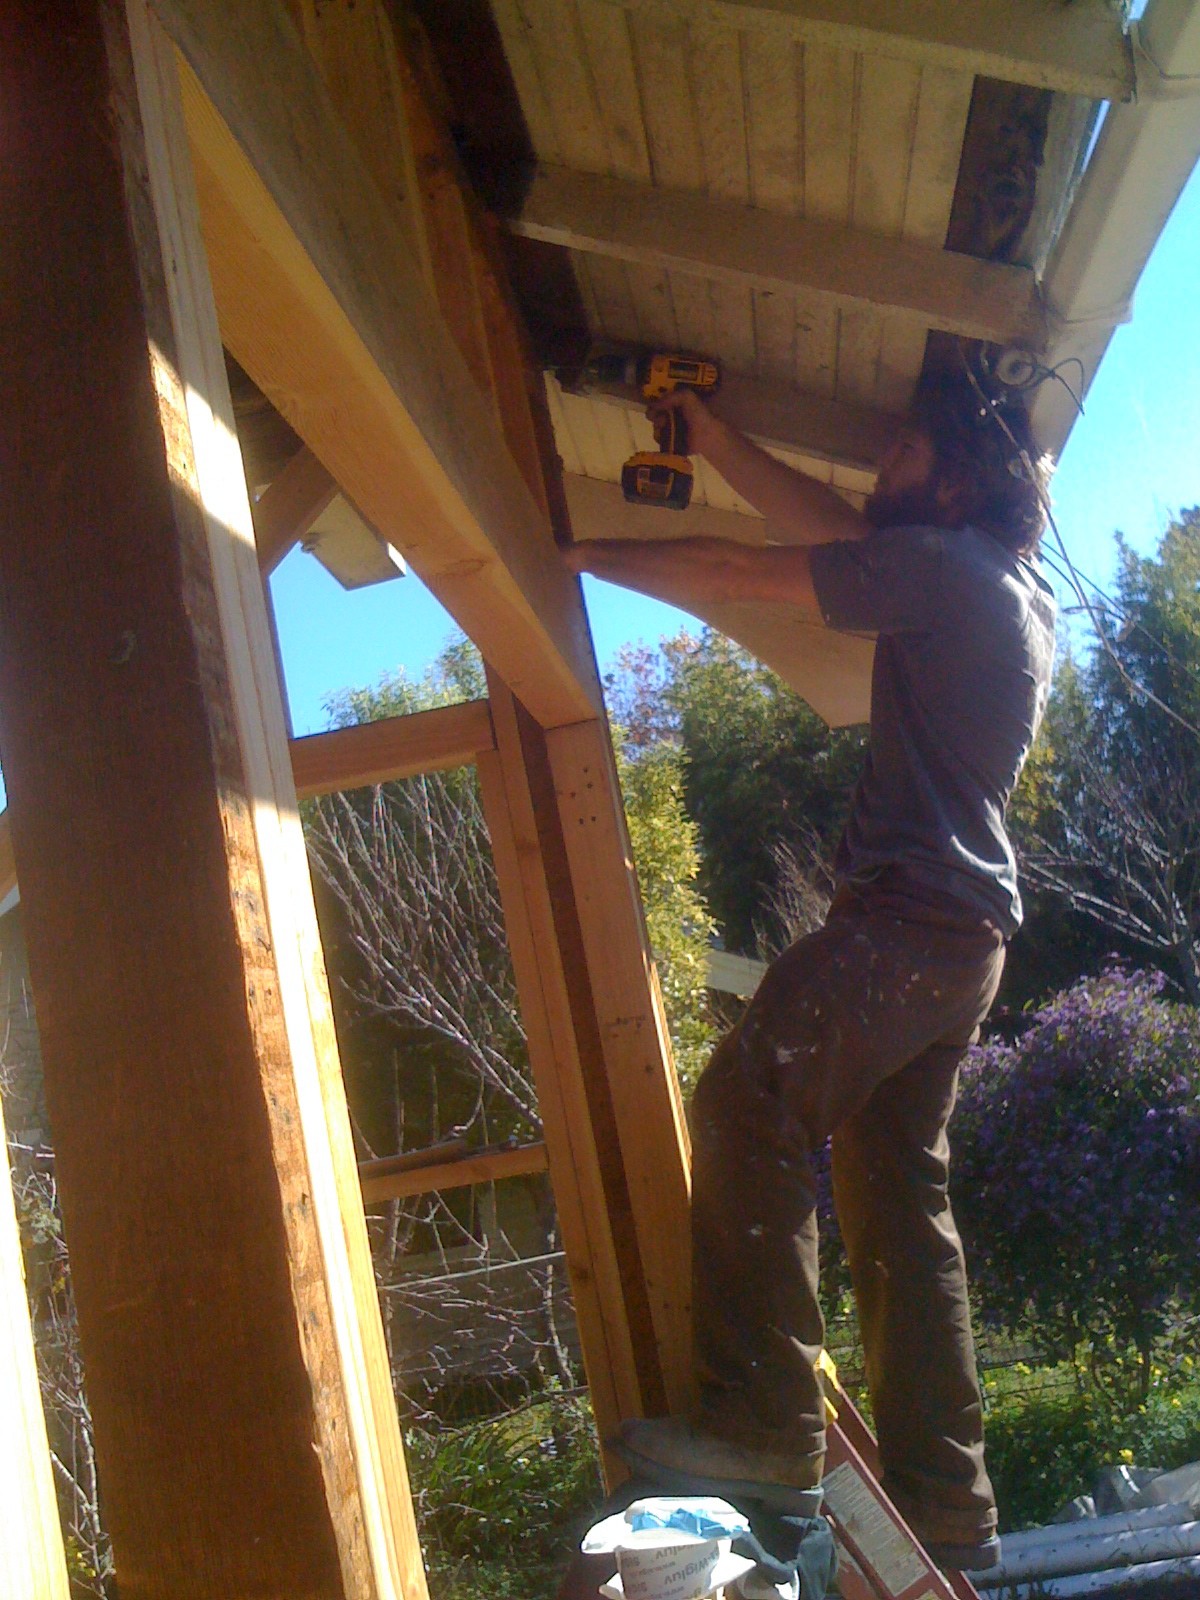
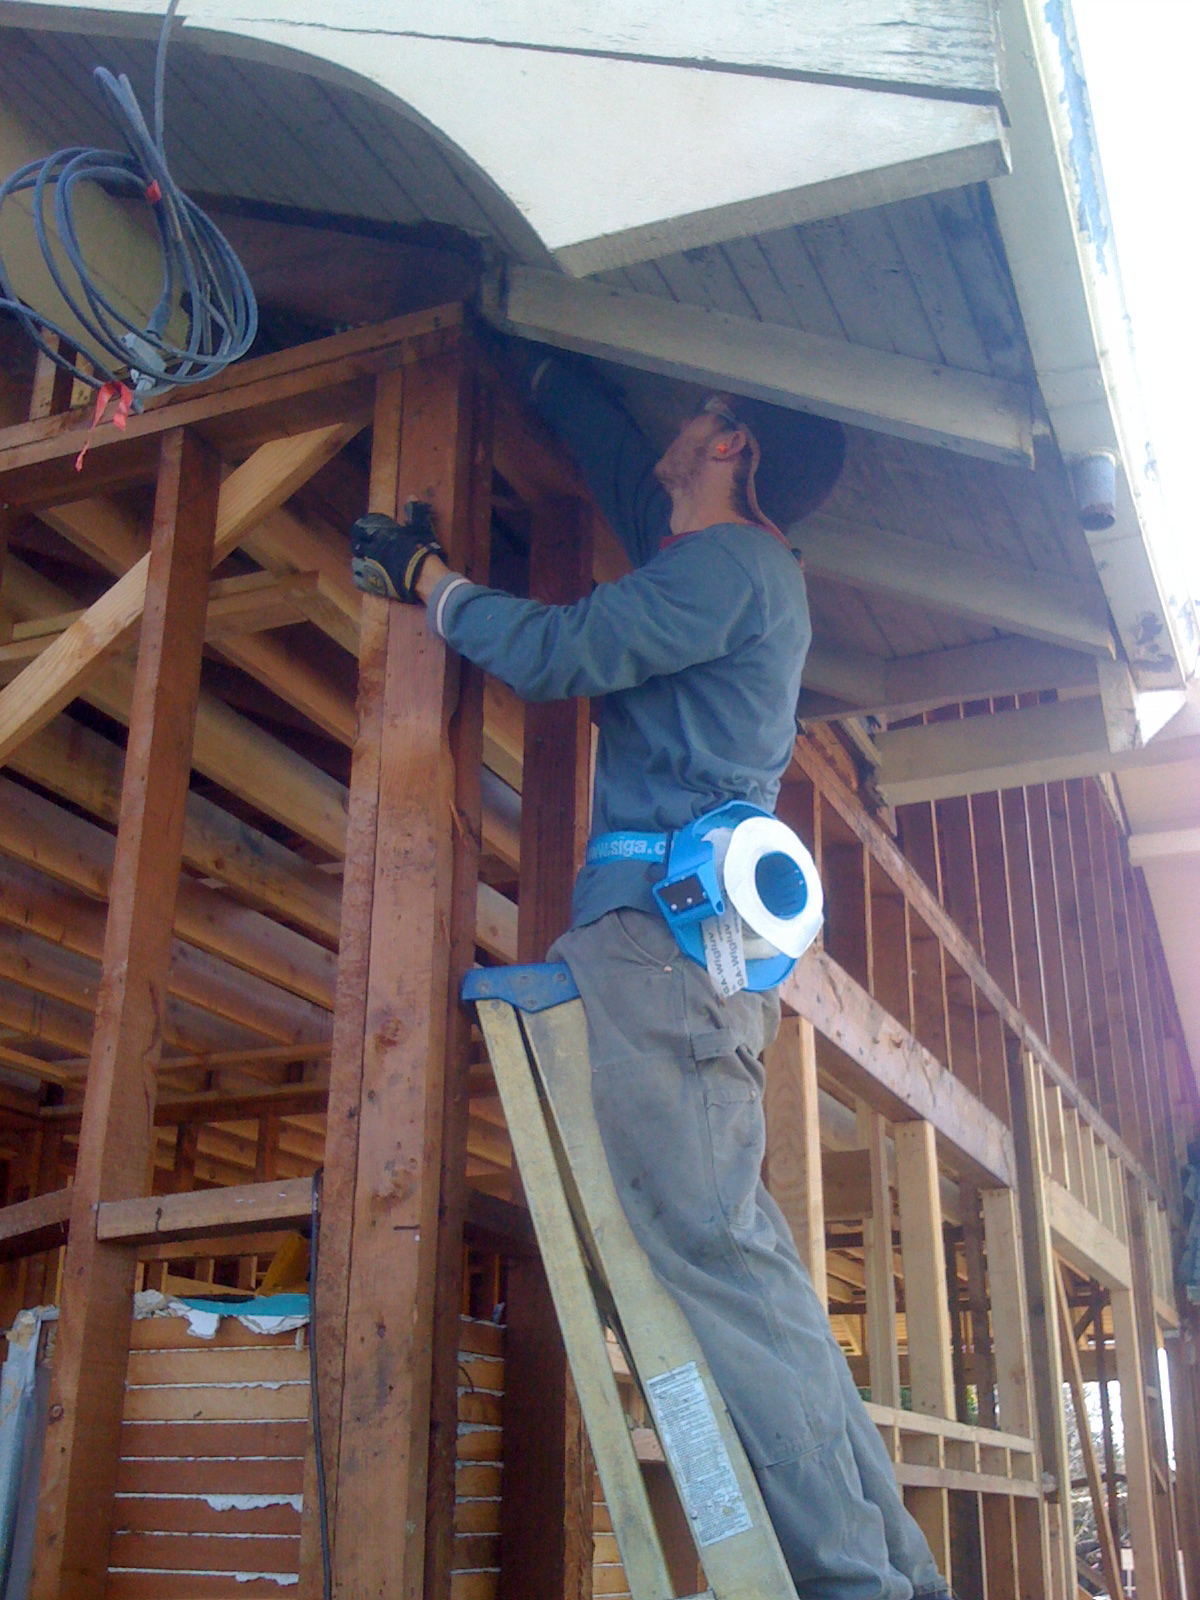
Then furring strips were nailed over the Tyvek Home Wrap. The furring strips are used to fasten the sidings.  If you would like to see example of furring spacing, number of screws and other details for attaching furring strips have a look at this article from Green Building Advisor.com.

Furring strips
Screws used to attach furring strips

Extra care was taken around the windows to prevent water damage.  For details on why windows flashing are important and how this is done, see article in Fine Home Building.  (Note: this article doesn’t describe what was done on our house)

When we were asked about the details of trim around the windows and doors Kurt and I looked at each other and said, “Let’s look at examples in the neighborhood and agree on what we like.”  So we took a walk down our street as well as some of our favorite local streets with Arts and Crafts style homes.  We showed David, the lead carpenter, the style of trim we liked and he mocked up a window trim.  This was really helpful in getting the decorative detail in a way that felt subtle and classic.

Is the flared skirt look on the side of the building called “Battering” or “Flared Siding”?  At one point someone told us that it was called battering but I can’t seem to locate a source that calls this battering. Anyway, the original house did not have the cute flared skirt but Kurt really liked the look of having this flared siding to give a a bit more of Arts and Crafts look.  So the crew of Santa Cruz Green Builders cut many pieces of wood to shape the flared skirt look for the house, including the trim of the door.

Cement fiberboard siding product called, HardiePlank, was used as the lap siding material for the body of the house. We selected this material because it is durable (resists rot, won’t burn, termites won’t eat it) and the company has a sustainable manufacturing practice.  While we could have chosen different types of surface that simulates different wood grains, we decide to go with the smooth surface.  For the top area above the belly band we used the Hardie Shingle product.  

Hardie Plank Lap Siding
Installing Hardie Plank Lap Siding

Hardie Plank Lap Siding with the flared skirt effect

Hardie Shingle siding
Installing Hardie Shingles

One of the outcomes we want for our house is the aesthetics and curb appeal of the 1920’s Arts and Crafts look of a California Bungalow.  We chose to reflect these in the grill pattern on the windows, trim around the windows, lap siding, front porch, the hint of flared skirt effect on the siding, and keeping the original footprint of the house.  A slight deviation from the Arts and Crafts aesthetic is the decks outside of the kitchen and bedrooms but this adds the indoor-outdoor connection we wanted for our lifestyle.  For reading on bungalows, I invite you to read The Bungalow: A Short History on the Arts and Crafts Home page.

Beginning of Air Sealing

Why Air Sealing?

We want our house to be comfortable, durable and energy efficient.  So air sealing is an important element in meeting those criteria.  You know that air can pass through small cracks, spaces and even pin holes, right?  For example, if you see daylight in the door frame when it’s closed you’ll feel a draft standing next to it when it’s cold outside and warm inside.  Then if you put weather stripping around it to prevent air flow the house feels more comfortable, right?  So, stopping air leakage leads to comfort.

Air sealing also leads to durability of the building because air can transport moisture.  You might ask, what’s the connection to durability?  Well, remember the pictures of rotted skip sheathing due to rain water intrusion?  Prolonged water exposure can cause wood to weaken and also invite mold to grow.  Not good for durability of the structure nor the health of occupants.  Let’s imagine a hypothetical example for illustrating why moist air passing through cracks in the walls is bad for durability.   Say there’s a lot of cooking going on in the kitchen and the indoor temperature is 80 degrees with 50% humidity and the outside temperature is 40 degrees.  The dew point (the temperature that vapor in the air changes to liquid) is 59 degrees.  Warm air can hold more moisture than cold air.  So for a given relative humidity, the the surrounding air temperature will determine if it will stay in the air as moisture or condense to liquid and become water.  For an explanation of using simplified psychrometric chart have a look at this guide on air properties from NebGuide.  In this hypothetical example the warm air leaking through the kitchen wall will to the outside will encounter drop in temperature along its path and when the temperature drops below dew point the moisture vapor will change to liquid water.  If the cold surface happens to be the insulation layer it will get soggy and dampen the wood around it and if it doesn’t dry out over a period of time there will be rot and maybe mold.  So, stopping air leakage leads to durability.

Air sealing is good for energy efficiency.  Imagine driving in your car with the windows open in the winter.  The heater is on in the car but the hot air is escaping through the window.  When you close the window it’s warmer because the heat is no longer escaping through the window and you can use a lower temperature setting to stay comfortable.  Same thing with the house.  If you have the windows open you use more energy to heat the house than if you had the windows closed.  The opening and closing of the windows are something we can do voluntarily to control and minimize the use of energy to heat the house.  The air sealing of small cracks and spaces are like having lots of tiny miniscule windows that we can’t close.  Some of these cracks are buried under layers of building material and homeowners can’t get to them easily.  So we rely on the builders to ensure that these miniscule uncontrollable windows in the house at different stages of construction.

Air Sealing Examples

When we’re talking about air sealing for passive house standard the builder is taking steps to mitigate air leaks from tiny spaces like gaps between two pieces of wood on a top plate, mudsill, etc.  To refresh your memory, we are striving towards Passivhaus certification and the airtightness goal is 0.6 air changes per hour (ACH) at 50 pascals.  If you recall our baseline blower door test came in at 22 ACH.  This means we are targeting the house to be 3600% more airtight than the original house!

By the way, you may want to take a look at this page for a brief overview of Passivhaus.

Air sealing work on the wall framing was done prior to sheathing.  These guys examined the places were unintended airflow could occur, like the junction of mudsill and studs, corners, etc.  Below are some pictures of air sealing examples.

To prevent air leakage in the small pinhole openings the crew shot foam
into the openings, sometimes drilling through the stud to access a spot where
the foam could expand and fill all the crevices, then sealing the outside with
a tape.  The crew tended to this
tedious work diligently towards the goal of 0.6 air change per hour at 50
pascals.  
Here are some examples of air-sealed spots where foam was blown in and covered up with tape.
Sealant from Perma Chink was applied with a bulk loading gun to ensure sealing of the sheathing to the wall studs.
>