Keeping Cool With A Low-Budget Shade Cloth
Exterior shading is an important feature of keeping the house at a comfortable temperature when it's hot outside. It's especially important to manage the sun well at Midori Haus because we have no air conditioning. Just as we wear a wide brimmed hat when we're outside in the hot sun the house needs sun protection like a generous eaves overhang or awning over the windows.
The shade cloth is seasonal. Unlike the deciduous plants (like grapes or kiwis) we originally planned to use on the arbor we control when we want shade. We use our skin to guide us when to put these up. During the winter we want the heat from the sun warming the space. As soon as we start feeling a bit warm in late spring we put up the shade cloth. We keep it up through early fall and remove it when the last bit of heatwave goes by. So far the shade season has been running late April through mid-October.
Last year I wrote about how exterior shading on a house built to the Passive house standard kept the inside of the house at a comfortable 73 degrees (F) during the heat 100 degree (F) heat wave. (See post here) In this post you will see the details of making a low budget shade cloth using simple materials readily available at the neighborhood hardware store.
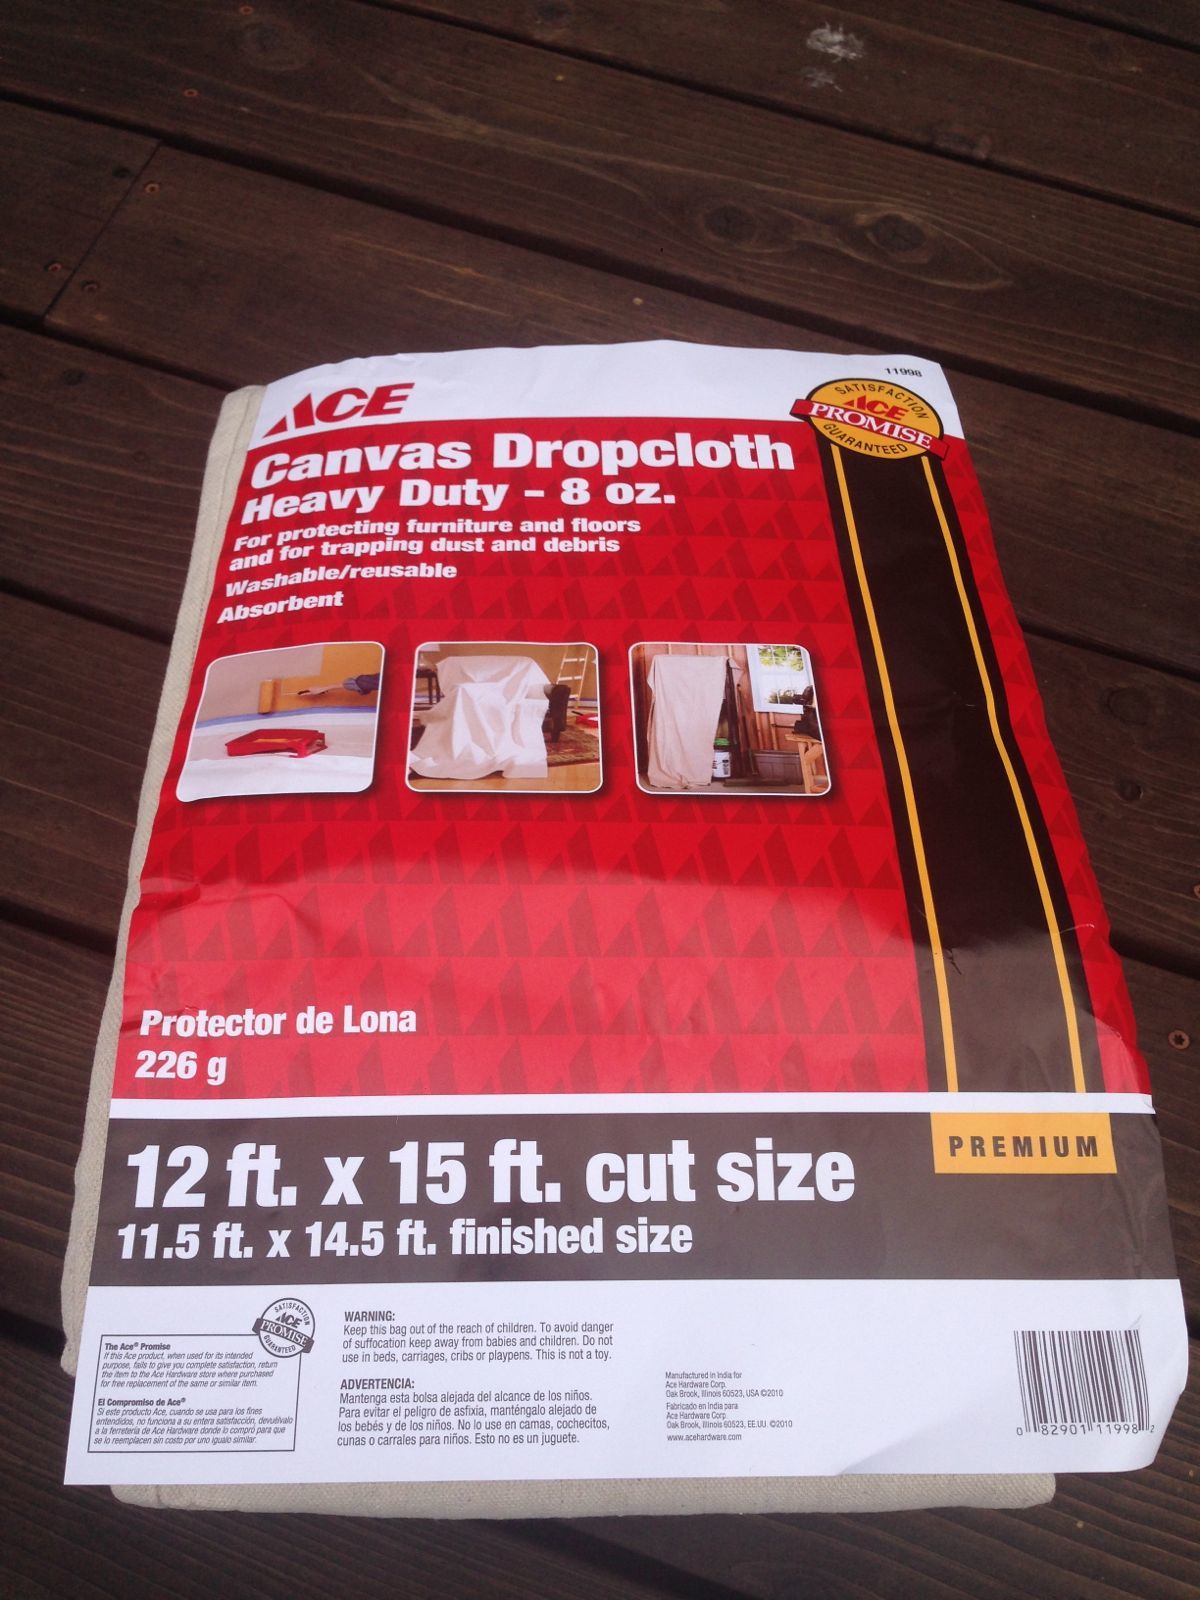
Painters Dropcloth
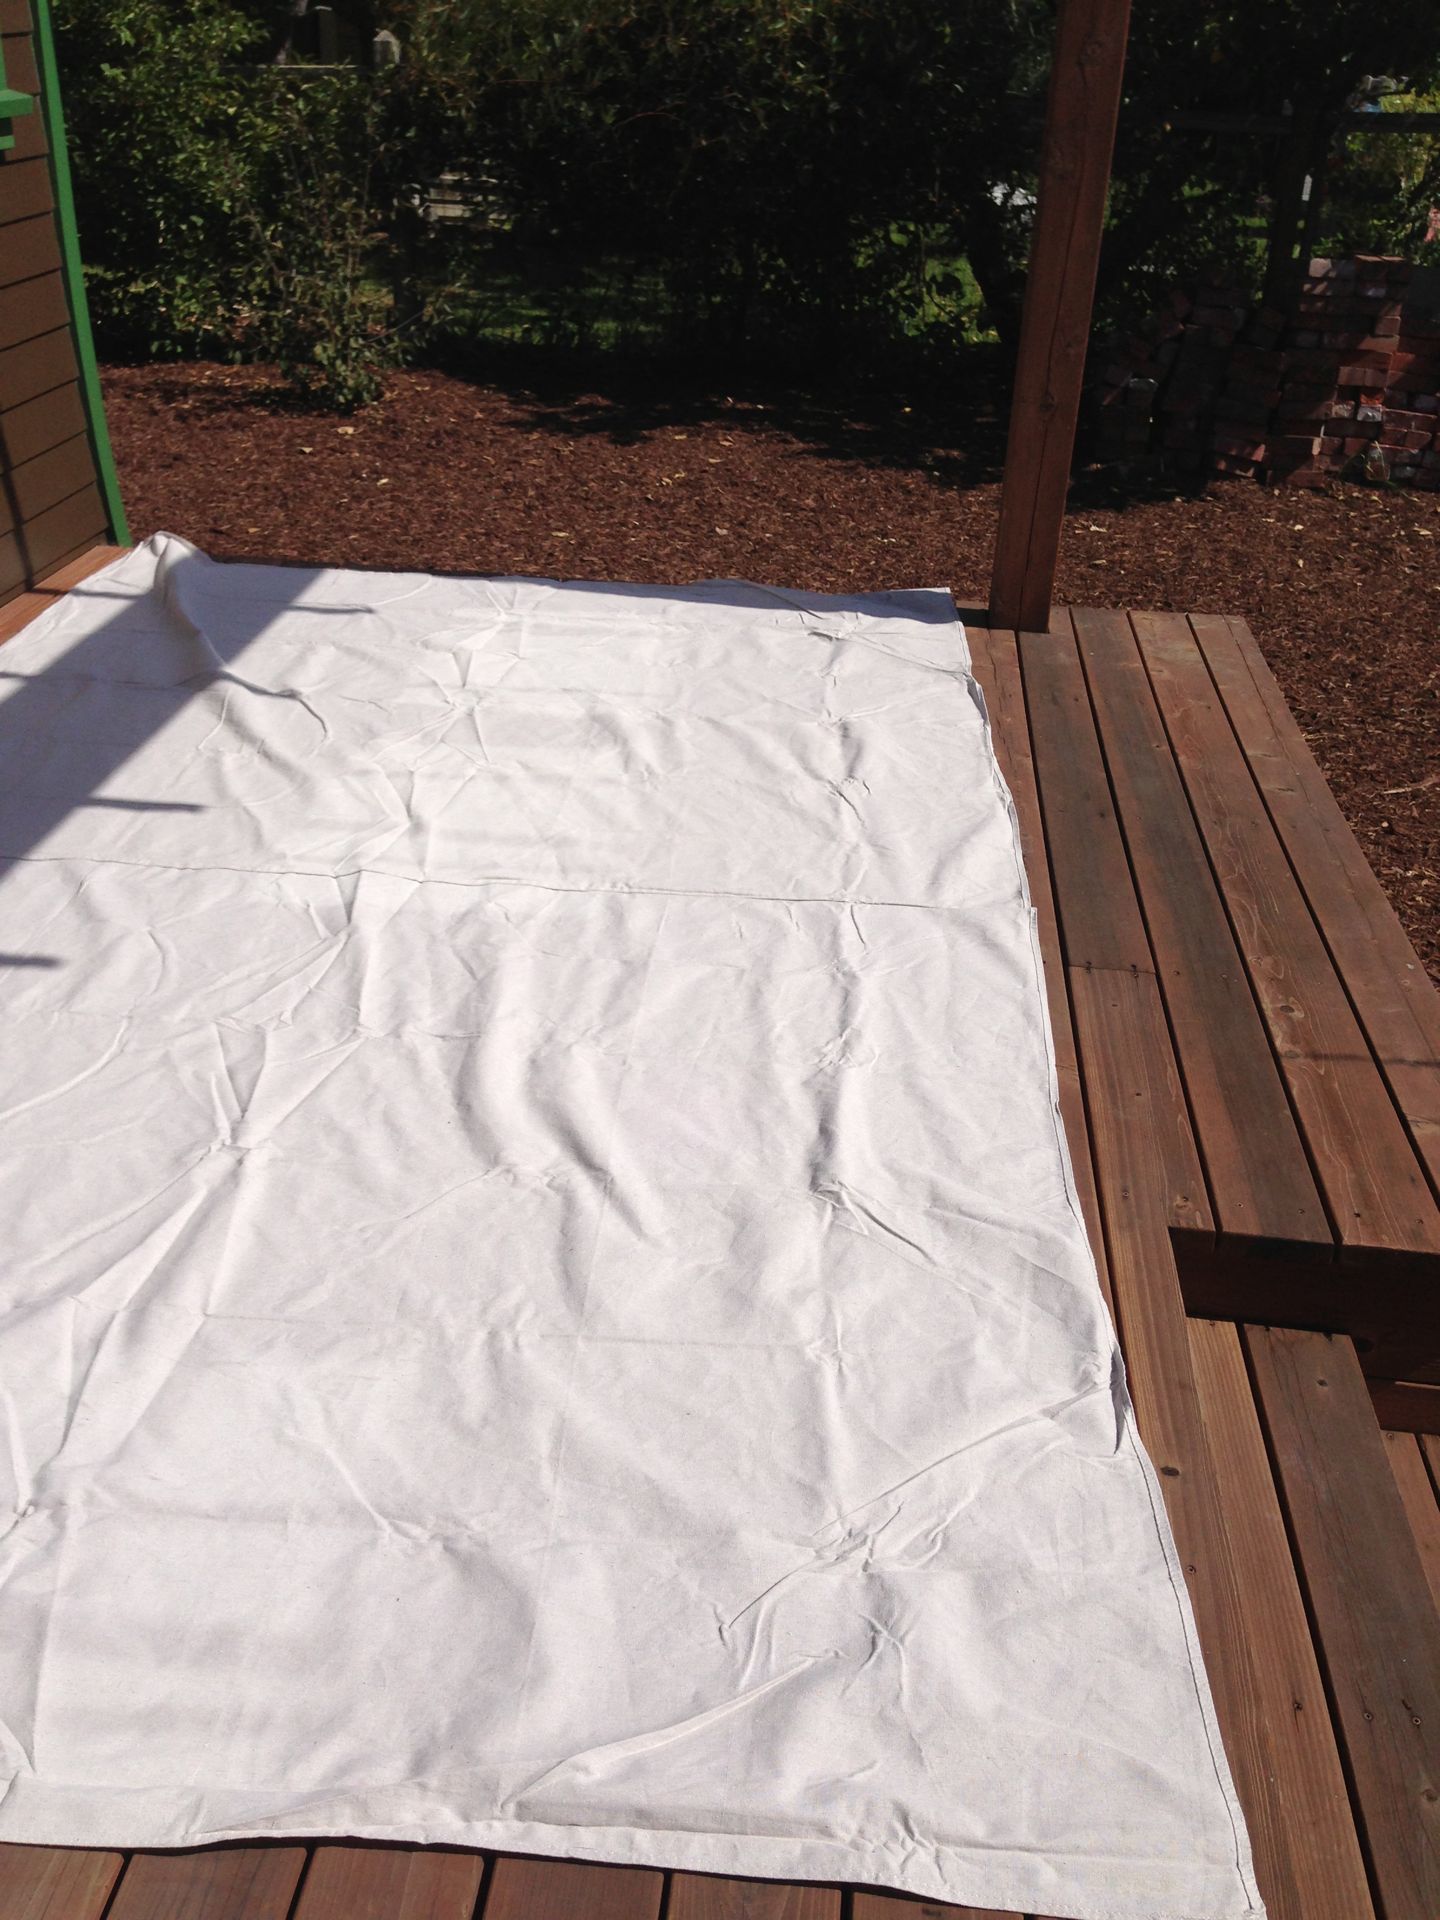
Cut Cloth In Half
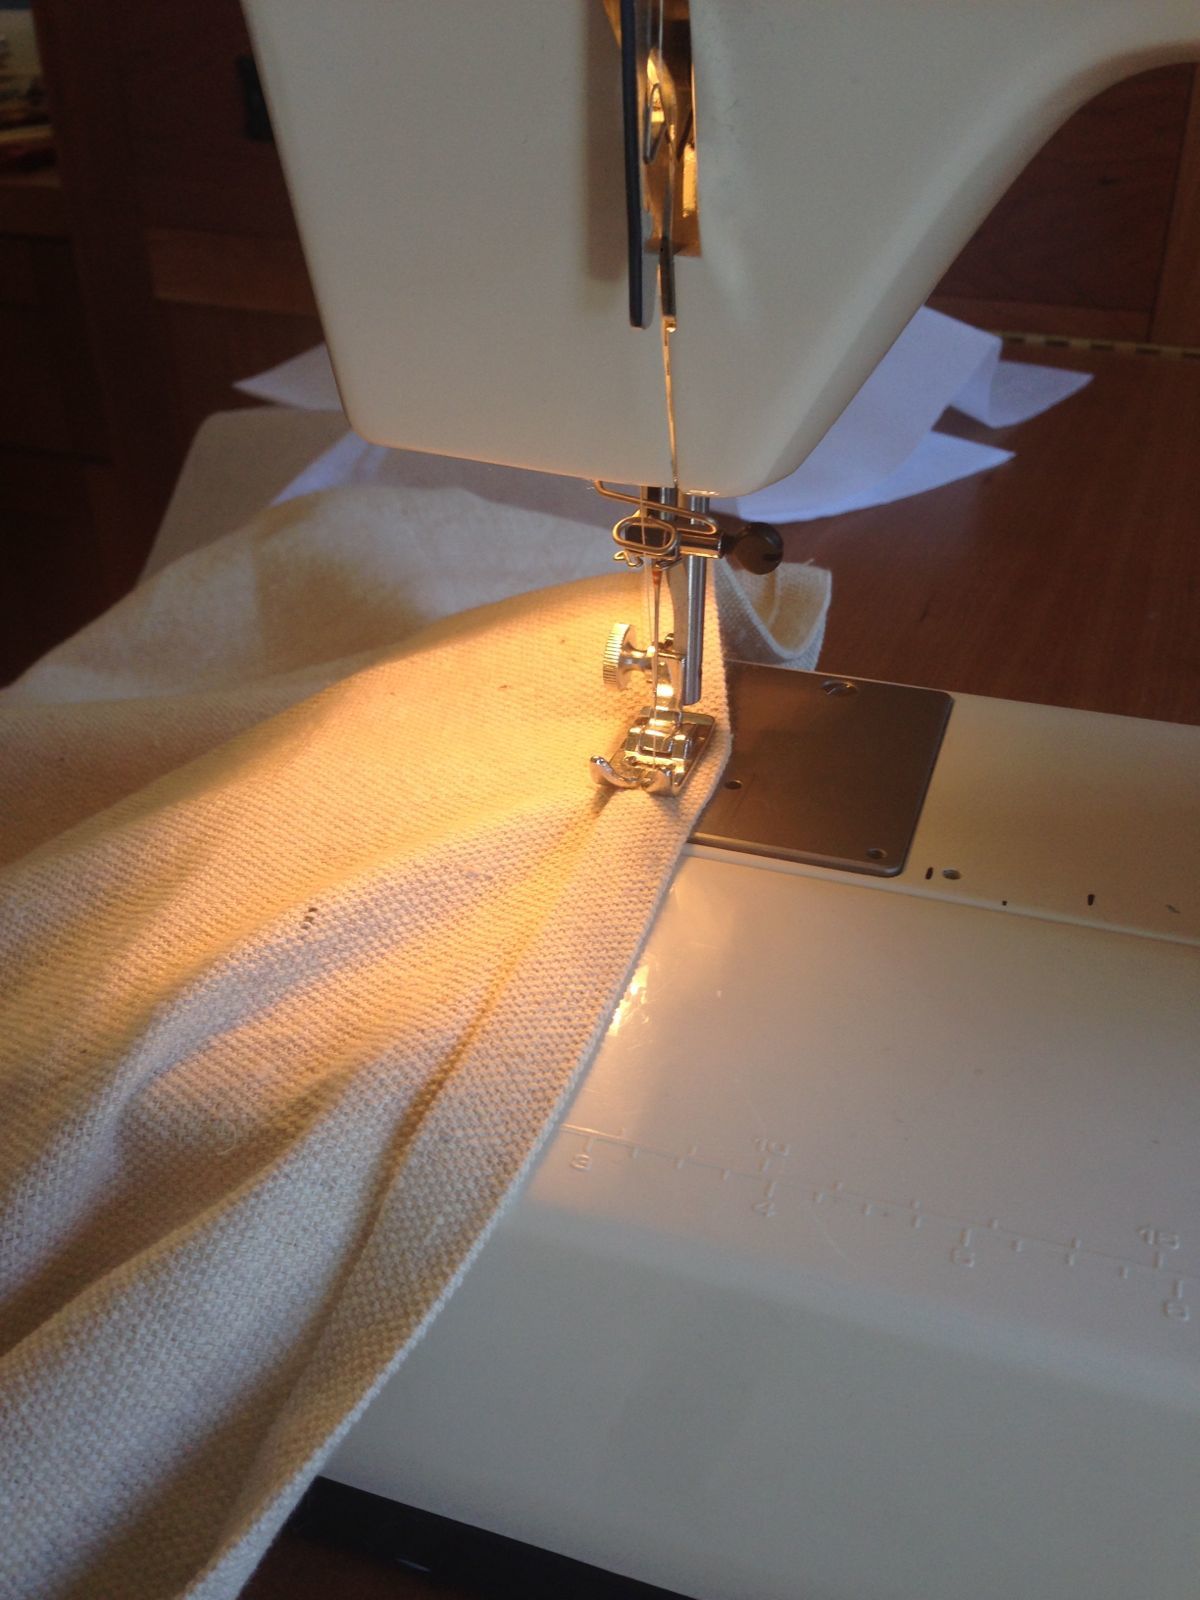
Stitching Edges
1. Measure the arbor area and figure out how much material is needed. After measuring the size of the deck arbor we decided that two packages of the largest canvas dropcloth (12 ft. x 15 ft.) will cover our two arbor areas. Each package was about $36 at the Ace Hardware store. Don't forget to pick up the grommet kit while at the store. We used 10 grommets per sheet, or total of 40 grommets. The grommet fastening kit with 24 grommets and the tools was about $10. Extra grommets are $5 for package of 24.
2. Wash and dry the canvas drop cloth. These cloths have a really strong chemical smell. It's much easier to work with them after washing them.
3. Cut the cloth to the arbor dimensions. We simply cut them in half so the two packages yielded 4 pieces of material (7.5 ft. x 12 ft.)
4. Sew the raw edges. Fold the cut edge of the material twice, about 1/3 inch wide, and iron them. Sew the edges.
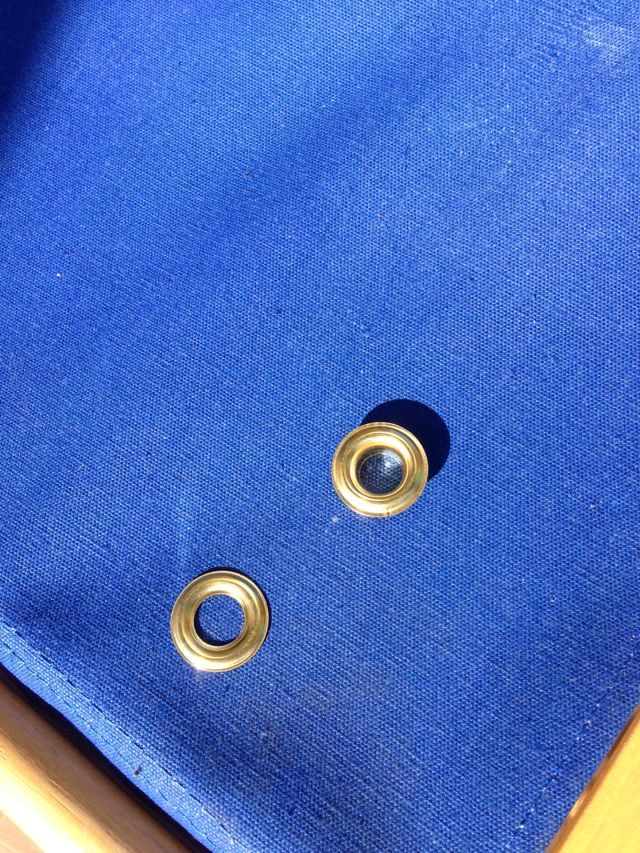
Grommets
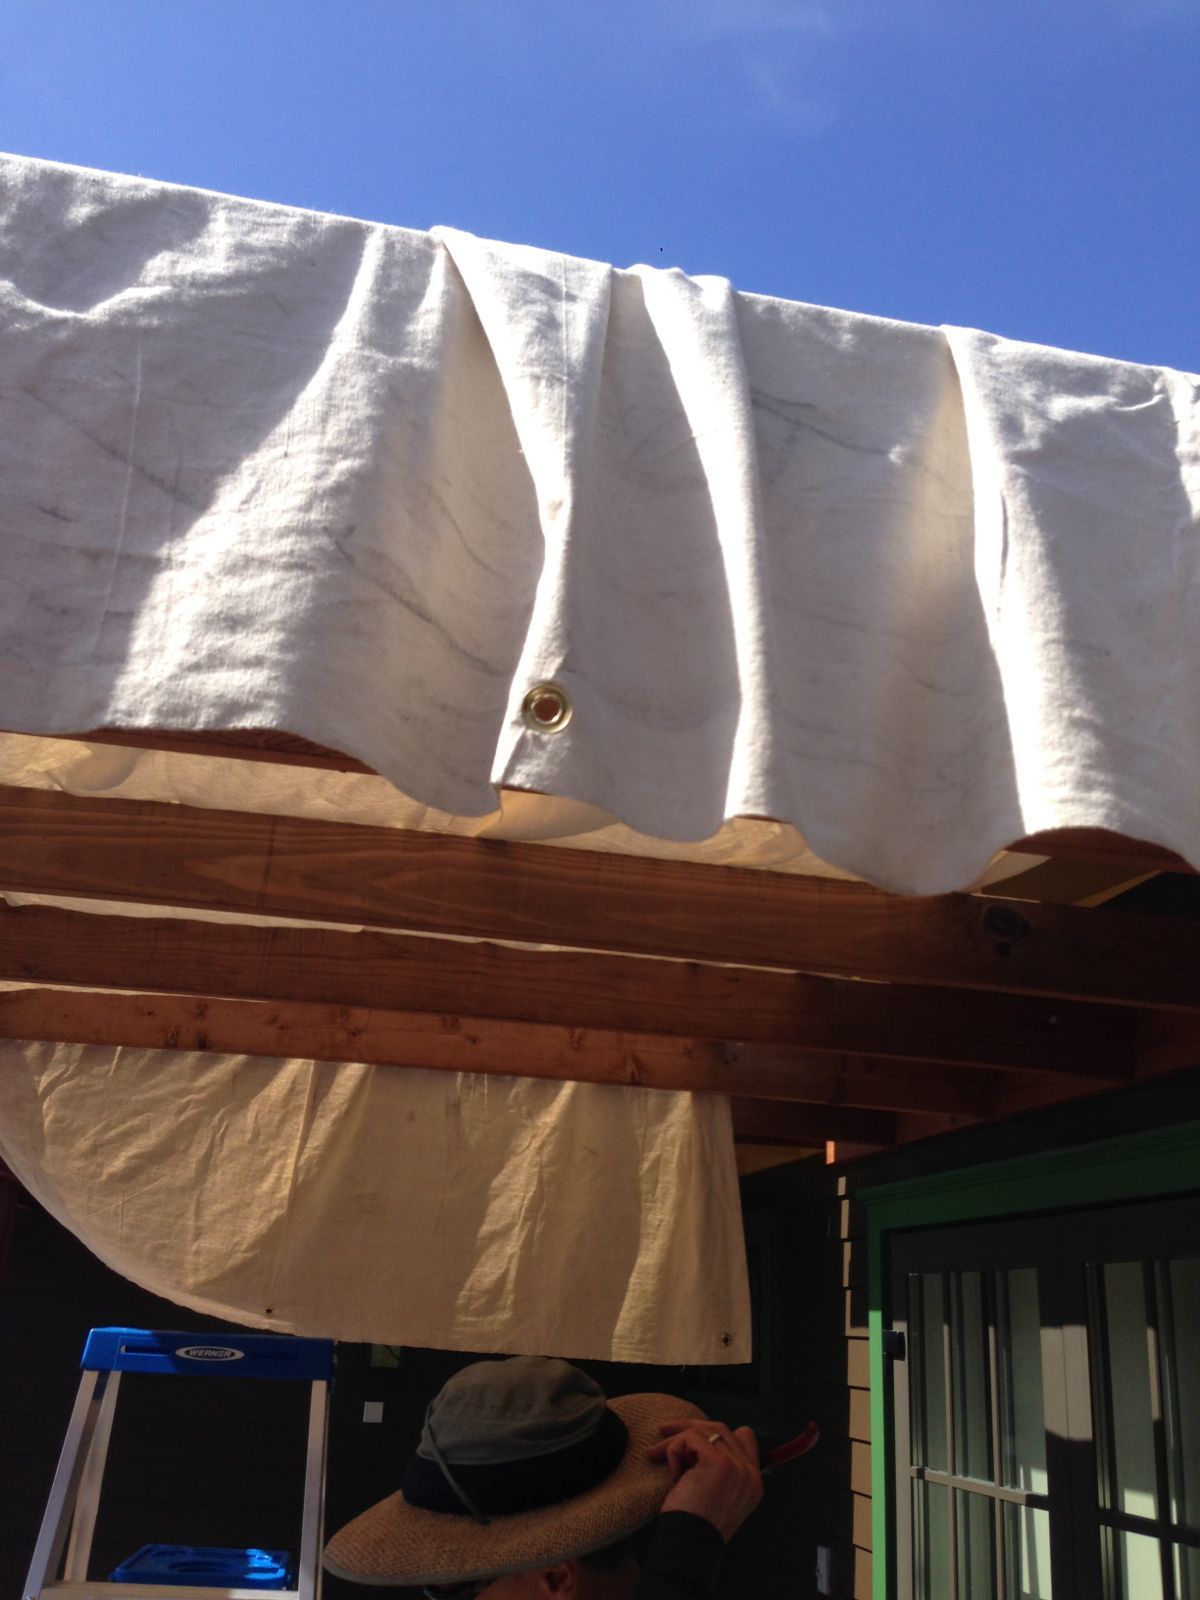
Hang The Cloth On Arbor
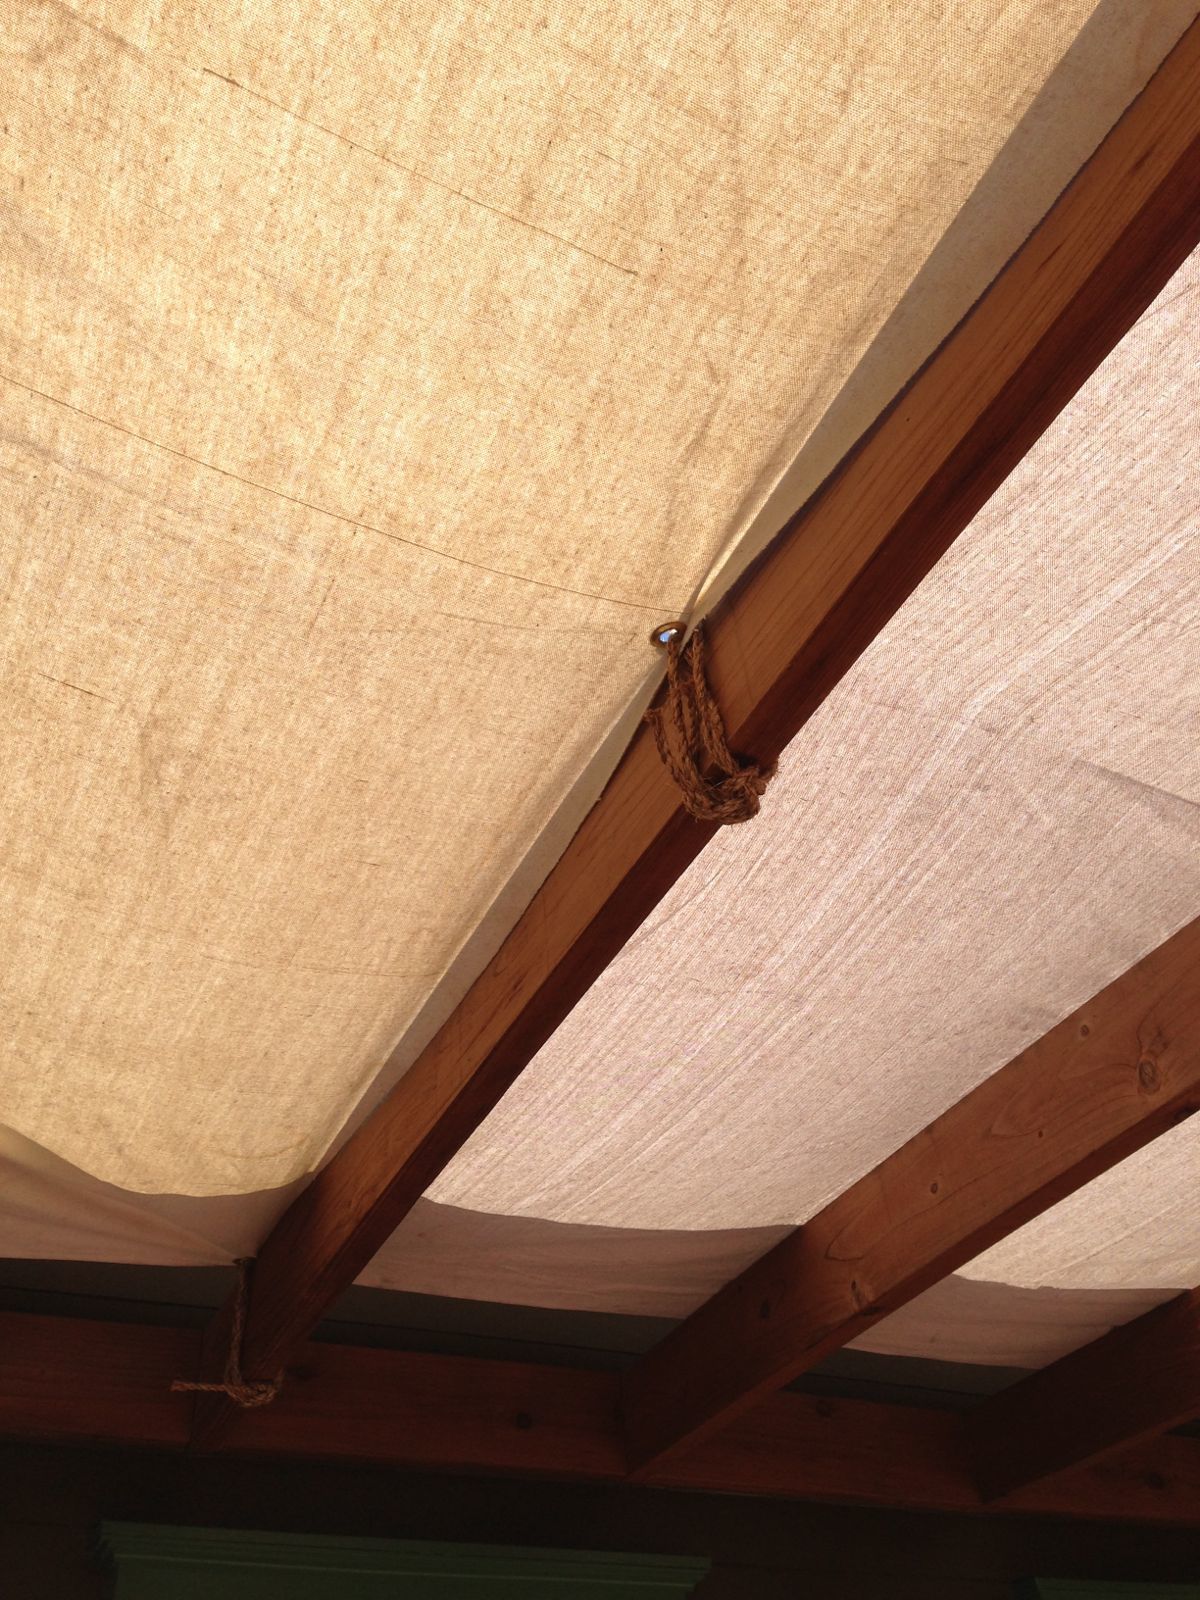
Fasten With Rope
5. Install grommets. Lay the cloth on the deck and mark the spots that align with the arbor. Follow instructions on the package of grommets. Note: You may want to reinforce the area where the grommet is installed. If the shade cloth is installed in an area where there is high wind the cloth around the grommet will be stressed and will tear after a season or two. As I write this I'm seeing the shade cloth flapping violently in 20 mph wind gusts outside my window. Two out of four sheets needed replacing after two years. I've reinforced the problem areas with sheets of heavy duty fusible interfacing (available at fabric store) on each side and stitched over them.
6. Drape cloth on arbor. Lay the cloth on top of the arbor and line up the grommets with the arbor beams. Note: This is a good time to mark on the cloth which corner goes where (e.g. south-east corner, etc.) using permanent marker on the arbor. This will make it easier to re-install the shade cloth next summer.
7. Fasten shade cloth using rope. We chose natural fiber rope for a rustic look. After cutting the rope to desired length we taped the edge of the rope to keep it from fraying.
Simple, isn't? About $100 materials cost and half day of labor.
About the Author
Chie Kawahara
Chie is one of the co-creator of Midori Haus. When she is not sharing her stories of transforming an old house and giving tours, she enjoys trail running and hiking.
HI Chie,
Hope you’re well. (I’m writing in your comments because my computer crashed and I lost all my email contacts!)
Thought you might be interested in these buildings I toured this summer at University of British Columbia in Vancouver.
Brock Commons, http://www.actonostry.ca/project/brock-commons-phase-1/
Center for Interactive Research and Sustainability, http://cirs.ubc.ca/building
Pretty cool stuff.
I’ll be by in November for your tour again and will stay posted.
Our attic is getting done this month: blown in insulation, R-40 and new baffles for the air vents, sealing all cans and register boots, sealing ducts, staying with current Bryant furnace but re-calibrating it for lower BTU output and less range in temp differential for the heating.
Best Regards to you,
Bob Morgan
I am so glad that you are enjoying your Passive Home without air conditioning. Great blog I am going to share with my daughters. How is Kurt. Thanks
What a wonderful blog, so much great information so well presented. I promote your work here in DC and around the world. Not only did it enabled me to see the potential energy efficiencies inherent in the built environment but it has done the same for many others, as well.
Thanks for what you continue to do to show the world what is possible.
Thank you Terry!
Really a great look and light on the pocketbook
Thanks Deanna. The light color also has an added benefit of diffusing the light that comes into the room.