Category Archives for Uncategorized

Chapter 2: Choosing Our Place

December 14, 2017

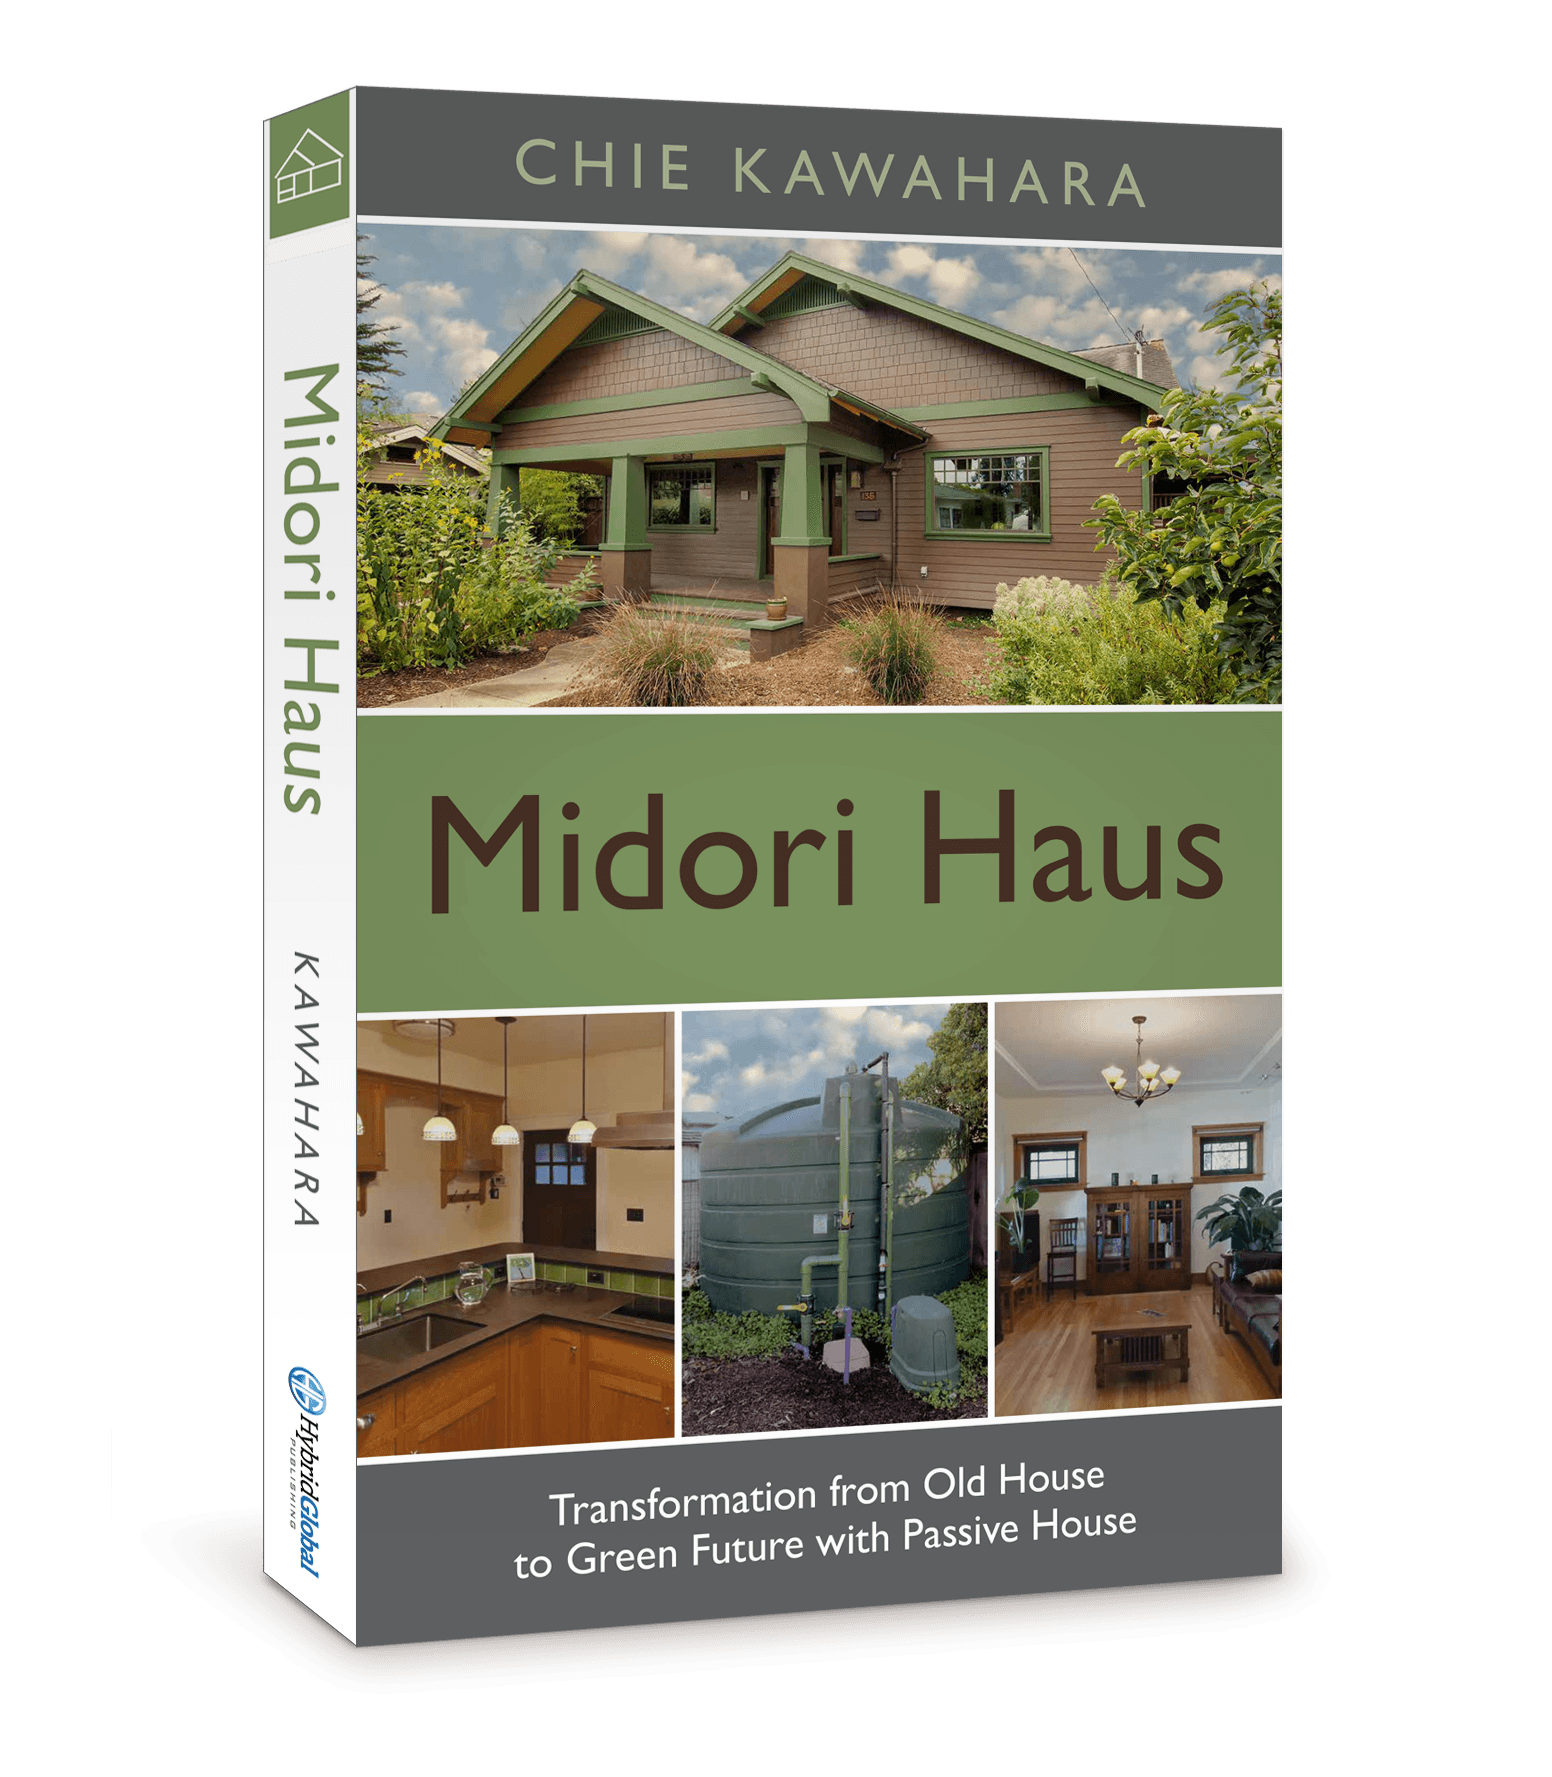
The stories I’ve written in the Midori Haus book chronicles dual transformation: one of the physical building and another of the mindset of the homeowners. In chapter 2, you'll get the feel of homeowner mindset transformation. Excerpts below illustrate two shifts that took place before we even started the design phase.

In 2009, we lived in a condominium. It offered limited ability to make changes to the building to increase our standard of living and lower our carbon footprint. Initially, we thought creating a green, sustainable home meant building a new house from scratch. There was an implicit assumption of green buildings being new and good. Over time, we shifted toward remodeling an old building . This was our first mindset transformation.

… the inventory of unbuilt lots in a walkable area was quite limited and it was just a matter of time before we shifted gears to looking at houses in the right location that could be remodeled. In a way that’s more green than building a brand new house because remodeling reuses existing materials. For example, the utility connections are all in place. These connection costs are not trivial. In our area, it costs over $11,000 to install water service at a new house built on a vacant lot. Charges for the water meter and inspection are extra. Then there is the labor and material cost to trench and install the pipes and fittings, which may be another $10,000 depending on the distance between the house and the water main. That’s just for water. Sewer, gas, and electricity each have their own connection fees and construction fees. So there are some savings from having existing infrastructure connections despite paying a slightly higher price for having a house on the lot.

Another transformation took place slowly, as we learned about due diligence before real estate purchase. We were quite naïve in 2004 when we were planning to buy some land to build on.

… buying so much land so close to down­town Santa Cruz for a price of a small house seemed like a dream. Back then we were rather naïve. Instead of doing due diligence with a soils report or researching zoning to see if the lot was build­able, we did silly things like driving out there late at night and sitting on a log to see if we would see the ghost lady that suppos­edly haunted the area. Getting caught up in Karsten’s enthusiasm, we were convinced that we could do this project fast and cheap. Because we didn’t know what we didn’t know, we floated in a nice dream for a while. It was a perfect escape from the daily grind of managing projects and people.

Our real estate education was greatly aided by a mentor. Gary Ransone’s unique combination of qualifications (real estate license, general contractor’s license, and construction attorney license) guided us to perform sophisticated due diligence.

… Gary went over and beyond what a typical real estate would do and visited the building depart­ment at the City of Santa Cruz to look up building permit records to see if the small addition containing a bathroom and a kitchenette was legit or not. This was a precautionary step to see if we would run into permitting issues when we submitted our plans for the remodel.

… Gary wanted us to have the property boundaries confirmed and have the records “clean” by confirming the mutual easement on the property boundary. This was prompted by the presence of a duplex garage and a shared driveway with the neighbor to the west.

You'll see a summary of lessons learned at the end of each chapter. One lesson I’ve often passed on to others is to have a general contractor look over the house before making an offer buy the house.

I would love to hear what you found useful in chapter 2 of Midori Haus book. Please let me know by commenting below. Thanks!

Midori Haus book

October 27, 2017

In November 2017, you’ll be able to hold a copy of my book in your hands and enjoy the vicarious experience of transforming an old house. The book is titled, Midori Haus: Transformation from Old House to Green Future with Passive House. Published by Hybrid Global Publishing, it is available in both paperback and e-book.

It’s a story of an ordinary house having extraordinary results using materials available in the market today. If you have aspirations of making your house green and sustainable, you’ll enjoy this case study told through the lens of a homeowner. It’s written in a conversational way as if you’re listening to a friend over a cup of tea. For example, in chapter 4 you’ll find the answers to the question, “What questions did you ask when choosing your architect?”

If you’re wondering about how to apply your collection of notes, neat ideas, and file full of green products brochures, you just may find yourself in chapter 3. At that point we were running the risk of creating a house with a hodgepodge of green ideas that may not have worked well together. Fortunately, we found a very good international building standard that looked at the building as a whole. Using the energy efficiency focus as the core of our project, we managed to avoid the green hodgepodge.

Did we do everything right? No. At one point we naively thought that we would arrive at a single logical solution if we spoke to enough experts to solve a problem. That was not the case. We stopped construction for months while we wrestled with this issue in chapter 13. We learned the hard lesson—when expert opinions diverge, it’s up to the homeowners (who hold the purse string and who will literally live with the decision) to choose the path.

I wrote this book for you. It’s for those of you who want to live in a healthy, comfortable, green home and are gathering ideas for your project. It’s also for architects and contractors who want to share the Passive House standard with their clients.

Thank you for reading this post.

5 Things I Learned at the Recycling Tour

I feel good when I have more things in the blue recycling bin than in the brown garbage bin when I roll them out to the curbside. For many years my recycling knowledge and effort ended at the blue bin. That changed when I took a tour of the Recycling Center at the Resource Recovery Facility operated by the City of Santa Cruz. This is nestled in the Wilder Ranch State Park, a few miles west of where I live. The facility sits on a hill, about 300 feet above sea level, with almost a direct view of the 3-Mile Beach. They offer public tours periodically.

At the beginning of the tour I heard, “When in doubt, throw it out.” I was shocked. Still, by the end of the 90-minute tour, I understood why. Here are five things I learned from the Recycling Tour. 

1. Plastic Bags

Some plastic bags are recyclable and some are not. So, how do I decide which one to recycle and which ones to toss into the trash? I’ve read the guidelines printed on the colorful flyers that arrive in the snail mail, but I could never remember all the rules and exceptions. “These plastic bags are recyclable,” said Leslie, our tour guide who works for the City of Santa Cruz, as she held up some used plastic bags. “These are stretchy and don’t make a lot of noise when you scrunch them.” Then she picked up a different bunch of used plastic bags and scrunched them and said, “These are not recyclable.” Sure enough, they were louder and stiffer with no stretch to them. That’s easy to remember! I can use the scrunch and stretch test from now on. I just need to remember the plastic bag protocol: place a bunch of the plastic bags in one bag and tie them. 

Soft and stretchy bags on the left are recyclable

Notice the bags within bags in the bales 

2. Clamshell Food Containers

What surprised me was the next thing she picked up. A clear, clamshell plastic container that is ubiquitous in stores. “These are not recyclable,” she said and I gulped. I’ve always put those clear plastic containers used to hold strawberries, blueberries, and Persian cucumbers in the recycling bin. Those need to go into the trash bin. Ugh! I don’t think I will completely avoid buying them in the future, but I will definitely think about the trash impact before buying them. “It’s about making trade-offs in different areas of life,” said Leslie. We can choose to do better in one area and worse in another since we can’t be perfect all the time.

3. Limited Landfill

So what is recyclable and what’s not? As I looked around the room and noted informational posters, I realized that it’s not an arbitrary decision made by the city government. It has to do with what the market will buy. One ton of metal could be sold for about $1,700. The price of plastic fluctuates with the price of oil. If the price of oil is low then the manufacturer may choose to buy oil to create new plastic products, but if the price of oil is high buying recyclable plastics become attractive. So the demand for used plastic and the price of oil have an inverse relationship. Right now, one pound of rigid plastic (like plastic buckets and cheap lawn furniture) will fetch  four-cents. Same with paper. One ton of used paper will be sold between $72 and $84 or $0.4 per pound. The sales price for used paper and plastic seem hardly worth the effort. But the reason to recycle is not financial. The motivation is driven by the need to divert waste from the landfill as this coastal landfill site has a limited capacity.

Metal bale

Plastic bale

Paper bale

4. Manufacturing Enables Recycling

Recycle means to treat or process waste material so that the material can be useful again. Used glass bottles and jars are cleaned, crushed, and melted to create jars and bottles. Used aluminum cans are cleaned, melted, formed into large blocks, rolled out, and made into cans and other containers. Used paper is cleaned, pulped, de-inked, and made into another paper product. Used plastic have a more complex process and there are different types of plastic that are commonly recycled: (1) PET or PETE are used for soft drinks, water, peanut butter jars;  (2) HDPE is used for milk jugs and trash bags; (3) PVC is used for piping; (4) LDPE is used for frozen food bags and flexible container lids.

Another way to look at recycling is the willingness and ability of manufacturers to take consumer waste into their manufacturing process. To make this feasible, an infrastructure to collect, sort, and market recyclable waste must be in place. What makes recycling work in my city is the presence of facilities in the Bay Area that use these materials to make their products, and that there is demand for them (such as bottles used by wineries in Northern California). I realized that this infrastructure and end products determine what is accepted as recyclable material in our community. I’ve often wondered why some cities don't offer curbside recycling service, but now I see that collecting recyclables from the blue bins is just first step in the recycling process. Without the investment in sorting, transporting, processing infrastructure, and demand from manufacturers recycling is not feasible. 

5. Avoid the Jam

What the Resource Recovery Facility does is the first step in the recycling process. The post-consumer recyclable materials are brought into the facility to be sorted and baled. The sorting machinery separates the metals, glass, plastic, and paper into different areas. Human intervention removes non-recyclable and contaminated items from the work stream. The conveyor belt moves fast. Trained eyes and split-second decision of the workers keep the flow moving. The better job we do in placing items in the blue recycling bin at home, the less intervention is needed at the recycling site.

Machinery jams every so often because of tangling items and small bits. There is nothing like seeing the line stop to sear an impression. I’ll make sure I won’t throw garden hose (tangling non-recyclable item) or tiny bottle caps (things that cause jamming) into the recycling bin. At the end of the tour, I appreciated the wisdom of the phrase, “When in doubt, throw it out.”

Garden hoses (tangles) can cause problems

Sorting machinery

Let's Be a Conscious Consumer

If I look upstream from the activities at the Resource Recovery Facility, I see opportunities for making a difference. If I have a mixed material item like the can of coffee beans from Trader Joe’s, I can choose to separate the metal from paper and put it in the blue recycling bin or throw the entire can in the trash. Better yet, I can choose to buy coffee in bulk at the grocery store and avoid deconstructing the coffee packaging. Bringing my own jar and re-using it continuously avoids recycling the coffee packaging all together!

We can choose to be a conscious consumer when an opportunity presents itself. Maybe not buying something impulsively (like a cool kitchen gadget or yet another intriguing book) is another opportunity to be a conscious consumer. How would you make your personal trade-off decisions to be a conscious consumer?

Coffee can in its entirety is not recyclable

Separate paper and metal to recycle

Are you curious about what can be recycled during construction? Take a look at this post I wrote about what we recycled during the deconstruction phase of Midori Haus remodel project.

What Shall I Ask Architects, Contractors, and Homeowners?

Have you asked yourself, “What do I want to get out of this home tour?” or “What do I want to get out of this meeting with a contractor my friend recommended?” or “What should I ask this homeowner who is a reference from this contractor I’m checking out?” Preparing a list of questions ahead of time will make the visit or meeting more productive, especially if there is a decision to make afterward. I found it easier to adapt from someone else’s list, so let me share my list of questions with you.

You can find the  list of questions we asked homeowners during the reference visits or reference calls attached here. Next to each question, I’ve listed the reason why we asked that question as well as follow-up probing questions. Keep in mind that homeowners who recently completed their project will have the cost and project experience fresh in their mind. The homeowners who have been living in their renovated house will have rich experience of how the material, appliance, or products have held up over time. You can use these questions or adapt them to your situation.

The list of questions we asked architects and contractors during the interview process is attached here. Next to each question, I’ve listed the reason why we asked that question as well as follow-up probing questions. You can use these questions or adapt them to your situation.

The list of questions linked from paragraphs above can be found at the end of Chapter 4 in the Midori Haus book.​ Here is a short excerpt from that chapter.

Some of the questions we crafted in the behavioral interview style would give us a feel for what it would be like working with them. For example, by asking, “Could you give us an example of a problem that came up in your project and how it got resolved?” we gave them a chance to tell a story to illustrate their problem-solving skills. Their answers would give us a sense of their problem-solving style as well as how they’d likely behave under pressure. Everyone is on good behavior during the interview. But when there are problems and things are stressful, we wanted to be partnered with someone who could rationally solve a problem rather than increase our stress. One of the builders we interviewed emphatically said that he would never work with a certain architect again. We asked him why.

“Because the last time I worked with him he lost it when we ran into a problem. He swore and berated me in front of others. It’s not professional.” Good to know. We didn’t have that architect on our list and after that discussion, we wouldn’t be talking to him for sure.

That conversation gave birth to one of my favorite questions, “What types of projects have you turned down or refused to do?” Most people pause and give a thoughtful response. The answer provides us with an insight into their boundaries and their personal standard of integrity.

When you visit a home, don't forget to note what your skin, nose, and eyes are sensing. It's one thing to have data from gadgets (temperature, humidity, air movement, air quality, sound, smell), but nothing can replace what your body is telling you.  

Below are some insightful questions we’ve been asked while giving public tours of our house. I wish I thought of these! Share the useful question you’ve used in the comment below, if you’d like.

  • What are you doing differently now that you’re cooking on an induction rather than on a gas stove?
  • Is there anything else in this kitchen that would be helpful for me to see?

Thermal Cooker and Passive House

Several times a year, we host a tour of Midori Haus to share our knowledge and experience of remodeling an old house to be green (healthy, energy efficient, water efficient, and sustainable). We delight in explaining what Passive House is and showing how features of Midori Haus reflected Passive House principles. At the last tour, we were pleasantly surprised to learn about a cooking method that embodies Passive House principles: energy efficient cooking within airtight vessel with good insulation.

One of the visitors brought along a thermal cooker. This is an efficient appliance that uses very little energy and effort. The food is cooked in a thermal cooker pot on a stovetop (gas, electric, or induction) and brought to boil for about 10 minutes. Then this pot is inserted into a thermos-like enclosure that cooks the food with residual heat.

Brilliant, isn’t it?

I used to think slow cookers or crockpots were pretty energy efficient. Now, I can see that slow cookers are like coffee makers (coffee stays warm by sipping electricity) and thermal cookers are like a thermos (coffee stays warm for a long time without electricity). When the hot food is placed in the well-insulated airtight enclosure it only loses heat at the rate of 4 ~ 5 degrees Fahrenheit per hour. If the temperature of food in the inner pot is 200 degrees when it’s taken off the stovetop and placed into the outer container, eight hours later it would be about 160 degrees, still plenty hot. Because there is no additional heat applied to the cooker, it won’t burn. I find this feature attractive since I’ve burned edges of stews in my slow cooker.

History and Food for Thought

The principle of thermal cooking has been around for a long time. I invite you to read this article from Low Tech Magazine, "If We Insulate Our Houses, Why Not Our Cooking Pots? " It explains why cooking is so inefficient and covers the history of fireless cooking with striking images. If you prefer to watch a short video instead of reading about low energy cooking history, then take a look this video titled, “A Bit of History About Thermal Cooking.

Selection Criteria

Our visitor recommended the Tiger brand of thermal cooker, which she brought. I placed the inner pot onto my induction cooktop to see if it was compatible with induction. It was. What else shall I consider before buying one? Performance (keeping food hot longer), durability (quality materials and good construction), and cost are what I typically look for, but these two videos gave me further insight:

Ecopot Thermal Cooker Comparison video advises to look at these characteristics:

· Pot’s locking mechanism

· Food cooking capacity

· Quality of inner pot

· Heat retention technology

· Technology used to avoid aroma bypass

· Ability to reheat food to 70C (above food safety standard of 60C)

Cindy Miller, author of Let's Make Sense of Thermal Cooking Cookbook, advises people to choose models that retain heat for 4 – 8 hours. The insulation type and capacity is explained in a show and tell fashion in this Types of Thermal Cooker  video.

I’ve heard that many recipes can be adapted for the thermal cooker. Perhaps I’ll try some of these recipes from Delishably when I get one.

Why Induction Cooktop Makes Sense

February 13, 2017

Last month, I spoke at the KMH Women’s group event in Honolulu. Knowing that Hawaii imports fossil fuels to generate most of the electricity in the state, I wanted to share as much energy savings tips with the audience. I did a simple experiment to convey why induction cooktop made sense for the people in Hawaii to make it relatable and interesting to those who want to do the right thing for their family and home.

Armed with measuring cups, kitchen thermometer, and a stopwatch, I measured how long it took to boil two cups of water in a kettle. First, I did this in my home in Santa Cruz California on an induction cooktop. It took 2 minutes and 56 seconds. The air temperature in front of the kettle went up by 1.1 degrees, from 71.6 degrees Fahrenheit to 72.7.

Before

After

Time to boil water

Then I did the same thing at my dad’s place in Honolulu Hawaii on an electric resistance cooktop. It took 6 minutes and 23 seconds. It took more than twice as long! The air temperature in front of the kettle went up by 1.3 degrees, from 77.4 degrees Fahrenheit to 78.7. Since this was in the cooler month of January, the increase in temperature wasn’t uncomfortable. Had this been done in August, I would have broken a sweat because my dad’s place doesn't have air conditioning. In homes that do have air conditioning, cooking during the summer on an electric resistance cooktop would make the air conditioner work even harder to counteract the heat.

Before

After

Time to boil water

This experiment affirmed my conviction that an induction cooktop is better than an electric resistance cooktop, especially in Hawaii where the electricity rate is more than twice that of California. We can save time and energy. We can avoid extra heat in our kitchens. So, if your kitchen stove is at the end of its life and needs to be replaced, look into induction cooktop.

Before you run out and buy one, check to see if there is adequate capacity in the wiring and electrical service to your house to install the induction cooktop model of choice. I invite you to read this article from The Induction Site to get the details.

When you start shopping for induction cooktop, the price tag might scare you. Especially if your point of reference is electric resistance free standing stove that is about $1,500 cheaper than induction. It seems expensive, right? Before you turn away, I invite you to consider the lifecycle cost. Since the savings come from the on-going electricity savings, let’s look at how much energy savings would make this higher initial cost worthwhile.

1. Appliances last about 10 years, so when we spread out the higher cost of induction ($1,500), it comes out to be $150 per year or $12.50 per month.

2. Average price of electricity on Oahu is $.28 per kilowatt-hour (kWh). Dividing the $12.50 per month by the average price of electricity, this comes out to 45 kWh.

3. Say your average electricity usage per month is 350 kWh, the 45kWh target savings represents 13% of the monthly bill. On average, appliances use 28% of electricity in homes, so 13% seems feasible.

One thing that people fuss over when making a decision to go with induction cooktop is the cost of replacing the pots and pans. Once again, I invite you to read the cookware article from The Induction Site to get expert tips on why you may need a different cookware and how to shop for new cookware. I didn't spend a fortune on new pots and pans. In my case, I kept my cast iron skillets and only bought a couple of sauce pans.

Bottom line, switching from electric resistance cooktop to induction cooktop makes sense, especially in a climate that uses air conditioning. To move forward with confidence, be sure to research the electrical requirements of installing an induction cooktop, calculate the cost savings, and check your pots and pans.

Winter Experiment: Heat Recovery Ventilator (HRV) to Energy Recovery Ventilator (ERV)

November 24, 2016

On November 18, 2016 we did some maintenance. The Zehnder ComfoAir 350 ventilation system is the heart of our Passive House (Passivhaus in German). It continuously provides pre-warmed filtered fresh air to  different rooms and exhausts stale air from kitchen and bathrooms. The heat recovery ventilator (HRV) was originally installed four years ago and commissioned in January 2013. In addition to cleaning out the filters couple of times a year, we were supposed to clean out the HRV core annually. This was the first time we pulled out our HRV core and it was quite dirty.

​We also pulled out the bypass duct. Our system is configured as ComfoAir 350 LEFT where the fan on the right side move the air in and out of the house (through ComfoPipes) and the fan on the left move the air within the house (through ComfoDucts.) In the LEFT version the bypass duct (black hexagonal foam) is installed behind the core. 

The body of the ComfoAir 350, the casing that housed the core, was dirty too. Our first task was to clean out the dust, dirt, and dead bugs. We didn't have a vacuum cleaner handy, so we simply wiped down the surface with damp paper towels. 

There are two fans: one of the right and another on the left. We pulled out the fan on the right side, opened it up, cleaned it, and replaced it. Then repeated the procedure with the  left. We took care to not pull on the power cables attached to the fan.  

Now that everything is clean again, it's time to replace the core. Instead of re-installing the HRV core we chose to install the ERV core (enthalpy exchanger). Note that the ERV core is blue. The color of the HRV core was teal. This will help redistribute the moisture extracted from the kitchen and bathrooms to the other rooms. We are doing this because we live in a dry climate. In the winter the air outside is so dry. When the dry air is brought into the house  the relative humidity in some of the rooms drop below 30 percent. So, to avoid dry skin and chapped lips, we are doing an experiment this winter.

We replaced the front covers and the filters. We use the red F7 filter (MERV 13) on the right (towards ComfoPipe) and the black G4 filter (MERV 7/8)  on the left (towards ComfoDuct).

We will be collecting the temperature and humidity data through our WELserver. While our sophisticated body sensors (skin and lungs) will tell us whether our experiment was a success or not, the measurements of relative humidity will convey them in numbers. Stay tuned.​

Why We Chose Passive House

October 30, 2015

When bought the 88-year old bungalow in 2010 we didn't know about Passive House. Up until then, our notion of green sustainable house had been to install solar panels, use recycled materials, and use low flow water fixtures. I didn't "get" the importance and the advantage of having the house built like a thermos rather than a coffee maker. At that time, I felt that a green home was focused on using the materials considered green. Nobody we talked to seemed to be focused on the actual performance of the house.

We stumbled across Passive House in March of 2010 through a casual conversation. At first it didn't seem remarkable. We thought it was a type of passive solar home. We didn't quite get it because we didn't know the difference between site energy and source energy. Nor did we appreciate the fact that energy not used onsite is better than renewable energy produced onsite. It was before tools like this video that explains passive house in 90 seconds was out on YouTube.

It took a formal presentation that showed Passive House was based on solid building science and had an amazing track record before the light bulbs went off. We finally "got it"at the Passive House workshop in September 2010, six months after we first heard about Passive House. The case studies shared at the conference sealed the deal. You know that marketing saying about how a prospect needs to hear it 7 times before they take action? It was true for us. We needed to hear the message more than once before we got it. 

Here is a short excerpt from chapter 3 of Midori Haus book:

I get that. Running various what-if scenarios using software makes sense. What I didn’t get was what these numbers meant. I wasn’t impressed when I first heard of 15 kWh/m2 for heating and cooling per year to keep the house at comfortable 68°F. Without context the impressive benchmark information can simply breeze into one ear and escape from the other ear without the light bulb of comprehension turning on. It clicked for me when I saw the results from the case studies of homes built to Passive House Standard. Over and over these houses showed impressive results: 80 percent less energy use throughout the year than new homes built in the conventional way. It’s pretty convincing when the source of the data is the utility bills and the logs of temperature data corresponding to the billing period, which showed that the house was indeed comfortable. It wasn’t a case of vigilant people piling on sweaters and turning down the heat in the winter or living in a sauna during the summer for the sake of energy efficiency. They were just as comfortable, if not more, as people living in homes using 80 percent more energy.

Once we got our head wrapped around the Passive House concept of how it could save lots of energy  we were delighted to discover the icing on the cake - healthy indoor air quality and thermal comfort. Now we could see that Passive House would be our secret sauce for our green remodel. We got excited about transforming our old house from energy obese to energy svelte! We loved the idea of an old house with the look and feel of early 20th century architecture having the performance that far exceeds most new construction today. 

Having lived in a Passive House for over 2 years I'm appreciating ​another benefit I've not thought about before:  I don't have to actively do things. Unlike taking out the recycling bin to the curve every week or consciously driving at a speed that optimizes fuel efficiency, I don't have to actively do things to make Passive House work. It goes on saving energy day after day.

Here's an opportunity for you to "get" Passive House. In November 2015 you can learn about Passive House at the Building Carbon Zero California conference on November 13, 2015. Perhaps you'll find Passive House to be the essential first step towards your Net Zero Energy home. It's even better when you can tour many Passive House buildings in Palo Alto on November 14, 2015 to feel the comfort.​ Also, we invite you to see our 93-year-old house performing beautifully as a Passive House on November 15, 2015. 

Do you want to hear stories on how we gathered information and managed the transformation of our 90-year-old house? Sign up for the mailing list to be notified about the Midori Haus tours.

Better Cooking with Gas

October 17, 2015

In the last post I wrote about why it's healthier to cook with electric stove inside the house and keep the gas cooking outside on the kitchen deck. This post is about cooking more efficiently with gas stove.

When natural gas is combined with oxygen and ignited it creates heat and we see the blue flame dancing under the cooking vessel. As the cooking vessel (like the skillet or the pot) heats up it transfers the heat to the content and we cook the food by adjusting the heat intensity by turning the gas knob. So how can we make gas cooking more energy efficient? What if you could cook at the medium heat intensity at the low setting? How about if the pot can absorb and transfer more heat to the food for the same amount of gas burned?

We found a pot that does just that. It's called Turbo Pot and the bottom of the pot has fins that increase the surface area that can absorb heat from the flame. 

Few weeks ago I made a batch of tomato-jalapeño jam using the large harvest from my garden using the Turbo Pot pictured above. I set up my cutting board and the large bowl of tomatoes on the portable table next to the gas stove on the deck. After placing the pot with chopped ginger, onion, and jalapeño I cut the tomatoes as fast as I can and tossed them into the pot. If you're interested in the tomato-jalapeño jam recipe I used this one here.​ It simmered nicely on the lowest gas setting for over 2 hours while the jam reduced down. Had I been using my other stock pot I would have had to use a higher gas setting, maybe a medium instead of the low setting I used with Turbo Pot. 

During the month of September I made couple of batches of tomato-jalapeño ​jam, ketchup, and pasta sauce. (Can you tell I had lots of tomatoes in my back yard?) Each time I used the Turbo Pot for 2-4 hours to at the lowest gas setting. When I looked at my utility bill this turned out to be only 2 therms of gas, which I think is pretty good for all that cooking!

Cooking with Gas Outside for Comfort and Health

October 3, 2015

"Gas appliance outside and electric appliances inside" was the guideline we used for making appliance decision during our remodel. Having both gas appliance and electric appliance made sense for us because Midori Haus was already plumbed with natural gas line for hot water heating. If this infrastructure connection was not in place we probably would not have natural gas appliances.

When we lived in our condo we had a gas barbecue fueled with propane. Although this was a lot more convenient and faster than using charcoal for outdoor barbecue it still required lugging around the propane tank to the service station few times a year to get it refilled. So we took an extra step towards convenience by having a outdoor barbecue unit that can take natural gas as a fuel source and had the gas plumbing line installed. 

At Midori Haus we chose the Weber NG 54488 barbecue unit that has a side burner so we can simmer a large batch of apple sauce or make spaghetti outside and keep the heat out of the house during the hot summer months to prevent the house from overheating. Also the combustion byproducts from gas stays outside so the indoor air quality is better. Plus if there ever was power outage and putting our electric induction cooktop in the kitchen out of commission we can still have a hot meal if the gas service is on. If we truly wanted to be resilient and a bit more self reliant we could even get a solar oven. 

 What's better? Cooking with gas or electricity? It depends on what your decision is based on. I liked cooking with gas because it always felt fast and responsive. My husband used to impress me during our courtship days when he made his speciality dessert of bananas fried with brown sugar and bourbon. He would turn the lights off just before tipping the skillet ever so slightly towards the flame and igniting the bananas for a flashy finale. It wasn't until when I took the indoor air quality classes that I learned the burning that creates heat on the stove top (or gas oven) is a chemical reaction in which  natural gas combines with oxygen. When there is not enough oxygen the combustion is incomplete and produces combustion byproducts. Prolonged exposure to combustion byproducts could cause flu-like symptoms. When we learned about this and appreciated the function of the kitchen vent hood (it wasn't simply to clear away the smell of the food odor) we paid closer attention to how we used the gas stove and our cooking routine at the old condo changed. Our cooking routine started with walking over to the front door to open a window by the stairs (because the kitchen had no windows) then walking back to the kitchen to turn on the vent hood then turning on the gas cooktop. When the cooking was done the reverse routine took place. If this was in the winter the rooms got colder from the outside air and the opposite happened during the summer. We opened the windows to provide a path for make-up-air to come into the house when the kitchen vent hood created negative air pressure. Our little routine to keep healthy indoor air quality had the effect of cooling and warming the indoor space. It was unfortunate that it often happened to be exactly opposite of the thermal comfort we wanted on our skin. 

When we were designing Midori Haus we were really focused on using very little energy to be  healthy and comfortable ​in our home. So we decided not to have any gas combustion appliances inside the house because the house would be practically airtight and we wanted the air to be as clean as possible. This meant the house would have no gas stove top, no gas oven, and no fireplace. Midori Haus is practically airtight, about 10 times tighter than most new homes built today. Having an airtight home saves energy by keeping the indoor temperature constant much longer than a drafty house. We chose not to have the vent hood in the kitchen evacuate the air outside. Instead we got a recirculating vent hood and had the Heat Recovery Ventilator (HRV) manage the ventilation. 

During the late summer months when the abundance of fruits in the garden are begging to be preserved I can choose to cook on the induction cooktop inside the kitchen or on the gas stove outside on the deck. The kitchen can get pretty warm when making jam and sauces. This year I processed my tomato harvest by setting up a table on the kitchen deck and made tomato-jalapeno jam and marinara sauce on the gas stove attached to the barbecue. I spent several hours standing outside cutting, stirring, and simmering the tomatoes on the gas stove, which created lots of heat and combustion byproduct. Even if I was sweating outside in the 90-degree weathers slaving over the jam I smiled knowing that combustion byproducts stayed outside and I can be in the cool comfortable house with clean air just by stepping through the door. 

>